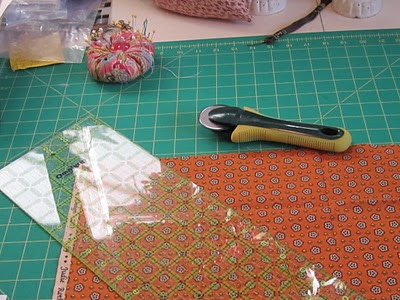
Step One: Place 1/2 yard of fabric onto cutting board, unfolded, so it is spread horizontally across your cutting mat. IMPORTANT NOTE: The fabric cannot be folded when you cut this--it has to be spread open! You will try to line up the left-hand corner of your fabric so the 45-degree angle (printed on the board) can be used as your first cutting guide.
Now, you will cut 2" strips which are parallel to this first cut, so you will need to reposition the fabric so that first cut you made is now horizontally placed on the mat. At this point, you can fold the fabric so the raw edges of that first cut are even. If you don't fold the fabric, the fabric will be too long for your ruler.
Now, start cutting...
When you have cut sufficient number of strips, you are going to stitch them end to end:
Now, you will stitch the strips end to end...so they will have a diagonal seam...so pick up the two ends...
And place the strips right sides together, so the pointed ends will overlap about 1/4" on each side:
Stitch 1/4" from the raw edges, like this:
Now, when all the strips are sewn together, press the seams open:
Now, you are ready to stitch the binding onto those curved edges!


No comments:
Post a Comment